Set up Okta
With Trotto's Enterprise plan, you have access to Trotto's Okta integration. The integration lets you use Okta as your identity provider to authenticate and provision/deprovision users in Trotto.
SAML
To set up SAML, add the integration via the Okta Integration Network, go to the Sign On tab for the integration, click the View Setup Instructions button, and follow the Okta-hosted guide.
Provisioning
Features
Automatic user provisioning to Trotto through Okta allows you to:
- Import pre-existing Trotto users from your organization into Okta
- Create new users in Trotto
- Update user attributes in Trotto:
userNameemailgivenNamefamilyNamedisplayName
- Deactivate users in Trotto
- Re-activate users in Trotto
Requirements
To use Trotto's Okta integration, you must:
- Have a Trotto Enterprise plan
- Be an administrator for your organization's Trotto account
- Have an existing Okta account
Configuration Steps
1. Contact the Trotto team
Send an email to help@trot.to requesting an API token for Trotto's SCIM API. In the email, tell us what secure mechanism you would like to use to receive the API token for your organization, such as a public encryption key we can use to encrypt your API token before sending over email, or Keybase.
Once we receive your email, we'll send you an API key using your preferred secure method.
2. Configure automatic provisioning in Okta
Once you've received an API token from the Trotto team,
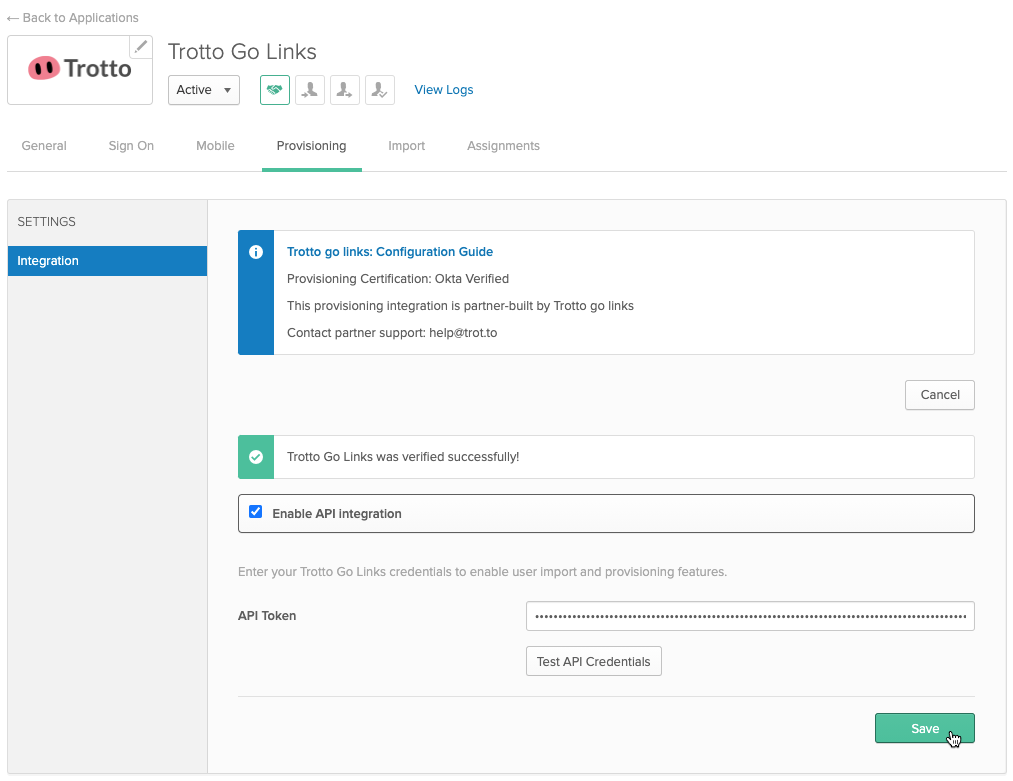
- Open the Trotto application in Okta
- Click the Provisioning tab
- Check Enable API integration
- Enter the provided API token in the API Token field
- Click the Test API Credentials button to verify the API connection works
- Click Save

You can now provision and deprovision Trotto users through Okta.
